Not all decals are created equal. Thus, I decided to do one of my favorite things... an experiment.
I prepped six copper blanks with counter-enamel and a base coat of 1010 undercoat white.
Then I took five different decal types (brand A for ceramics, brand A for glass, brand B for ceramics, brand B for glass, and homemade), cut swatches from each representational decal type, and applied them to the blanks. (Photo shows placement before soaking and adhering decals).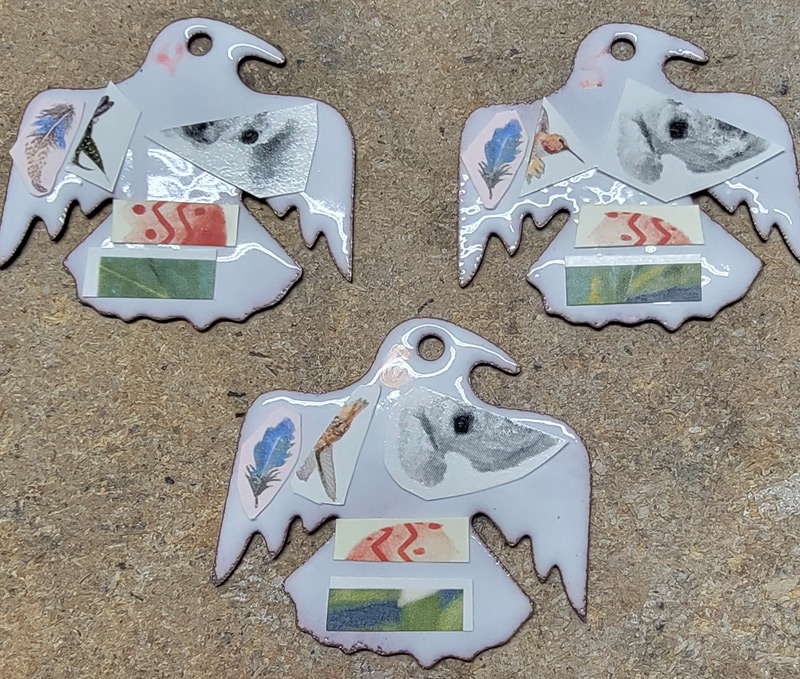
I left everything to dry overnight.
I tried to keep everything as SAME as possible, and the only variation I can think of has to do with something out of my control... the kiln. As I was putting the pieces (one at a time) into the kiln, I thought about the temp/time variables.
Did it take me 4 seconds to open and close the door this time, but only 3 seconds last time? How much more temperature drop is there in a second... or two or three? Did I put the blank in the exact spot of the kiln as last time? Is my kiln currently going through two minutes of heating up, which may actually make things hotter than if it's just holding the temp?
I decided I was controlling the largest variables, and the ones I had no control over... well, I'm going to assume they're negligible. (Because otherwise, overthinker that I am... I'll implode)
I was doing all this because I had some custom made decals created for me recently and I didn't want to waste them with too much "trial and error". I'd rather have a good idea going in.
I numbered each of my pieces and wrote down the temps and times. I could have done more than six (and may at a later date) but for now it was enough. I selected three different temps with two different times for each of those three temps. I won't share the numbers with you because part of your work is finding out YOUR kiln... not mine. All kilns are not created equal nor do they all act equal. Have fun by picking some temps and times of your own. If the decals fade too much, you know that was fired too long or too high. If your decal still shows a border, has a matt finish, or can be scratched off, you know that was fired too low or too short.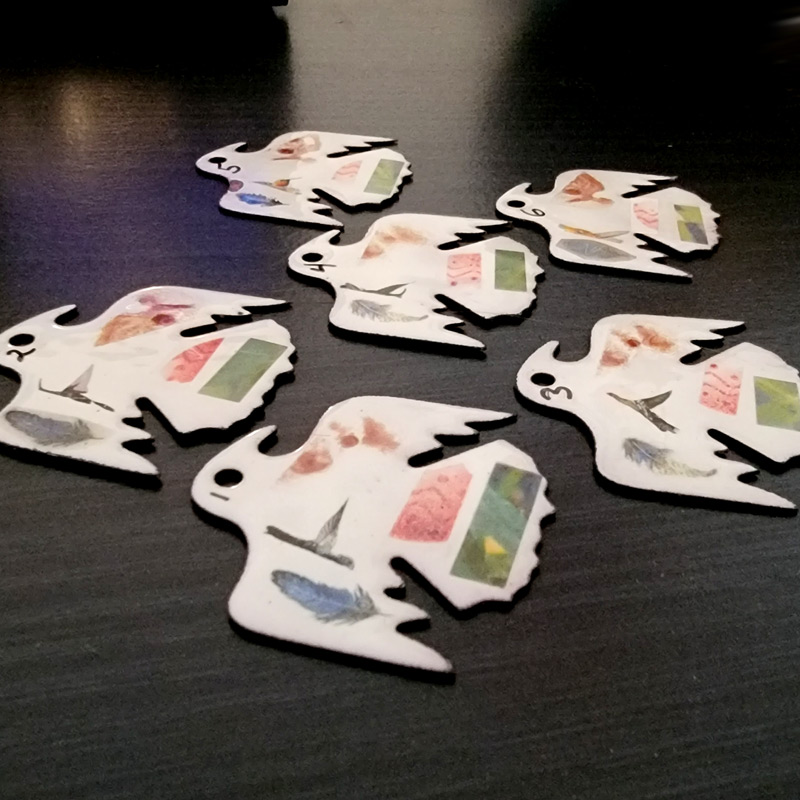
So after my pieces were cool to the touch, my first test is to hold it up to the light in a horizontal plane near my eye... I'm looking for the glossy finish. If the entire decal area is not glossy, it is not fused to the glass. Period. I see a lot of people who underfire decals. If that works for you, great. I have no interest in underfiring decals because my goal is to make the image a permanent, durable part of the glass. Otherwise, I can just decoupage the image on.
I didn't expect to find any one fired piece with perfection on all of its five decals. The point of doing this was to find out the best firing scenario or each TYPE of decal. So for example home-made decals probably need a different kiln time than professionally made decals, and ceramic decals probably need a different firing temp than glass decals. So the point is to examine each decal on each test plate and find which firing scenario works for each individual type of decal.
I had four criteria I judged on: glossy vs matt, saturation vs fading, border showing or not, and scratchability.
Some outcomes were glossy (aka well fused) but looked a lot fainter than the original image. To me that indicates over-firing, so I could try using either less time or a lower temp for that particular decal style next time.
If an outcome was matt (not glossy at all), I knew I'd have to add more time or more temp on subsequent trials.
BTW, when I say "glossy" or "matt", I'm referring ONLY to the decal portion of the piece. Don't look at or judge the surrounding area... you are only concerned with the decal itself.
Glossy is a hard thing to show you in a static photo. If you hold your piece at eye level and parallel to the ground then move it around just a wee bit, you will see the light shine over your piece. The entire surface should show gloss. In the image below, I'm comparing two outcomes for "gloss". The decal on the left, though it's hard to see from a photo, is 100% glossy over the entire decal. I drew a red line to show you the gloss mark; you can see how it continues from the undercoat white through to the decal as though they are one... because now they ARE one. The image on the right shows a completely matt decal with no gloss, despite the gloss showing well for the base coat. Also, that white horizontal white line near the top was where it failed my scratch test.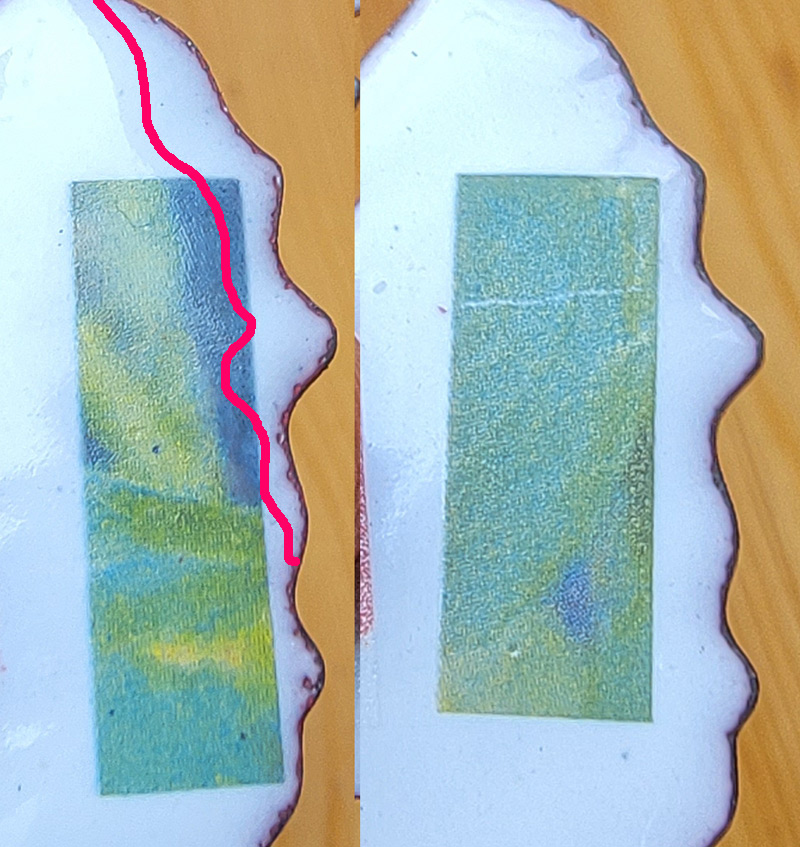
Saturation is an easy test... does your decal look faded? Not to be confused with a home-printed decal turning from black to sepia... that's 100% natural and expected.
After glossy and saturation, I look to see if I can discern a border. The "border" is the part of the decal that isn't part of the precise image, but is the clear part that surrounds the image. I don't know about you, but I don't/can't trim the decal into its perfect shape (unless that shape happens to be a simple square or circle, etc). So yeah... I look to see how well the cut border disappeared. Hint: decals created for ceramic work better in my opinion than decals created for glass. At least the way I do things they do. The ceramic decals can take more heat. Maybe there's a different method whereby the glass ones work equally well, but I don't have the time or patience to figure it out and since I DO currently have something that works, I can just stick with that (which is ceramic decals ... or decals made for ceramics).
Some border fails are obvious...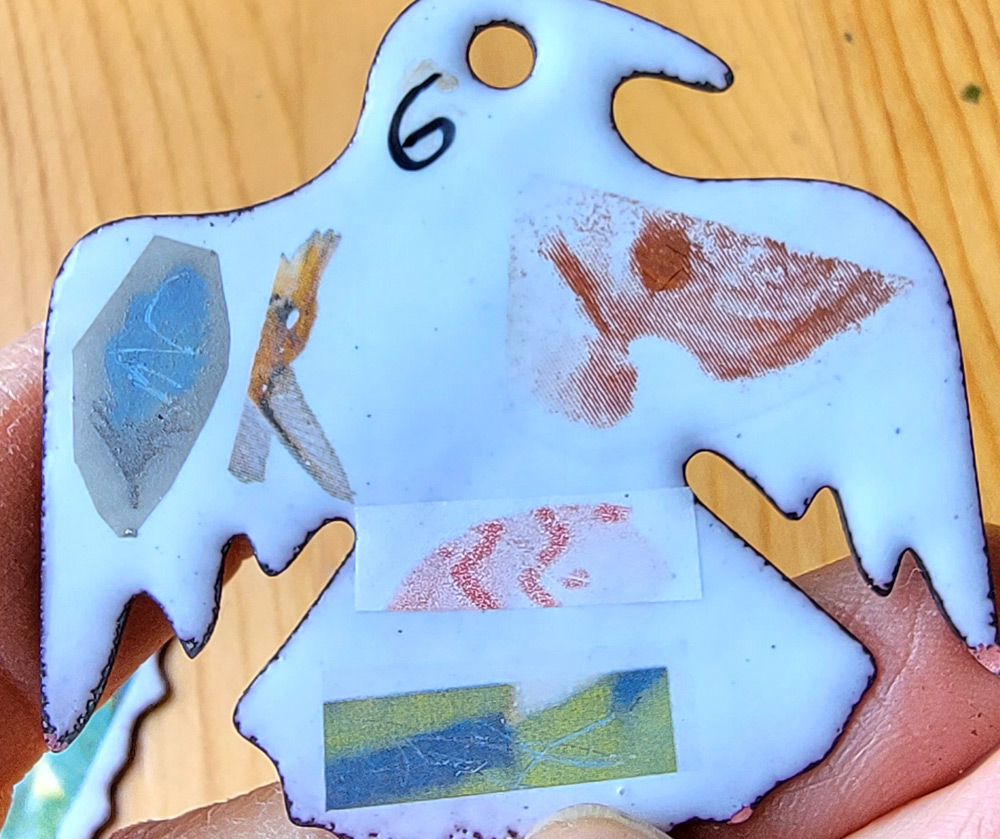
Other border fails are more subtle but still undesirable...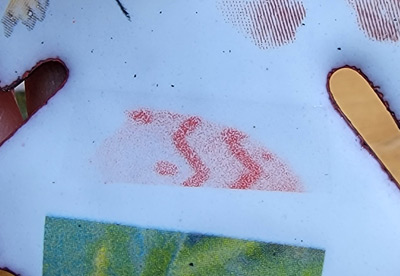
The final test is the most important (as far as I'm concerned). The scratch test is fairly synonymous with the glossy test, but actually taking a nail to your piece gives you that absolute confirmation that the decal is permanently fused to the glass and all is well in longevity land.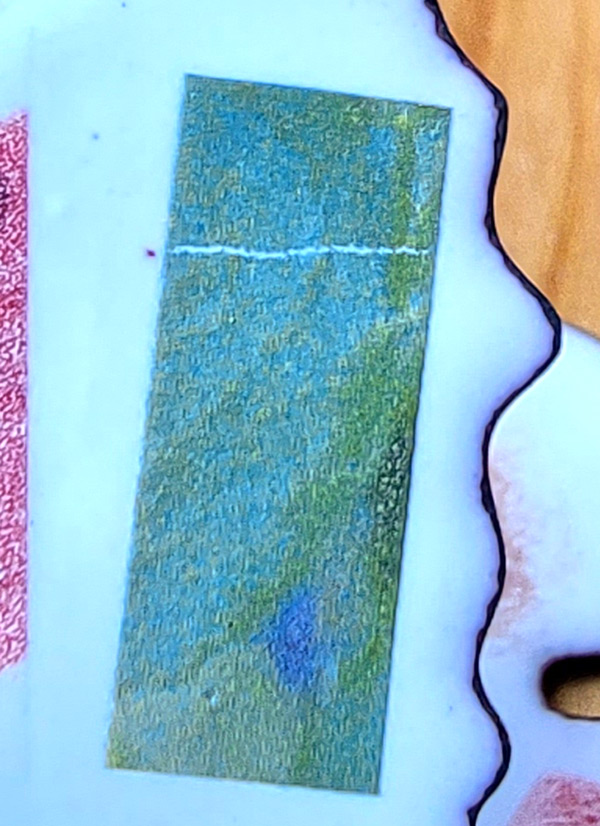
Yes, I do take an actual nail and scrape it hard across the surface of the decal. I've yet to have a glossy decal scratch (um... yeah, that's 'cause it's part of the glass for real)... but I have had some matt decals that won't scratch. Mostly if a decal is matt it WILL scratch, but once in awhile I'll run across one that is matt but doesn't seem affected by the nail test. That doesn't mean I have any intention of leaving a decal matt. I'm just saying, the scratch test is ONE of four tests.
Any temp/time combo that created a decal that passed ALL FOUR TESTS, gets permanently recorded in large, bold writing in my notebook. It's important to keep track of all your tests, carefully analyze the results, and highlight the winners.
So here's the main reason I did these tests yesterday... I wanted to fire this me-created Pearly Karpel-printed custom decal of my cat, China. I think it turned out lovely!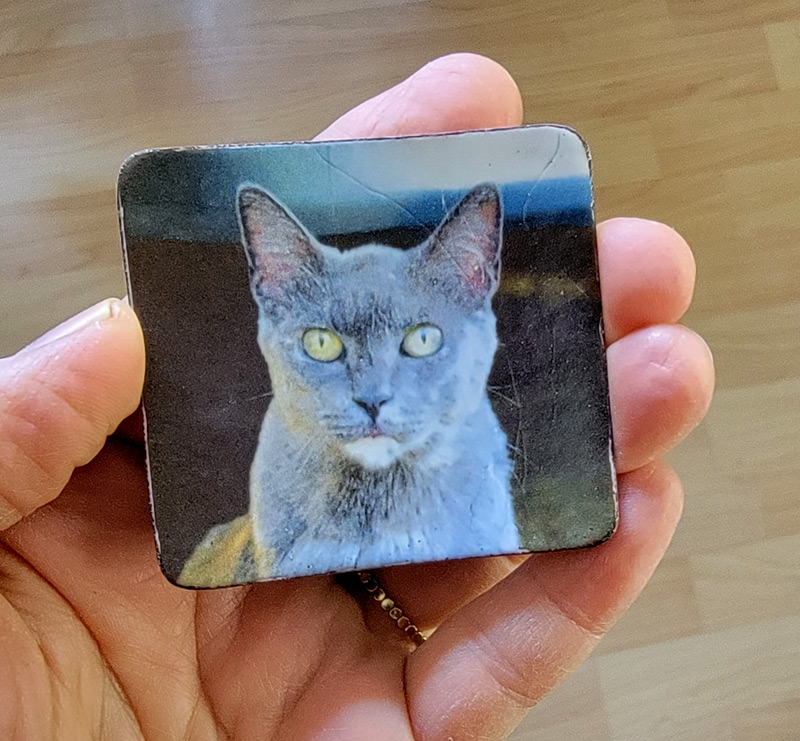
I made this trinket dish and because I don't trust flat enameled pieces, I gave it a slight dome, prepped it with enamel, then applied the decal and let it dry. A word on doming... Doming gives your piece a better chance of durability in the long run, but it can make applying large decals difficult in that a flat piece of something doesn't usually fit 100% well into a domed surface. Perhaps if I went convex rather than concave, but it is what it is. So yes, I knew there would be creases that I just couldn't get out (note the two lines on the right side of the dish's surface). I once tried to get around this by cutting slits into my decals but as I recall that was a fail for some reason or other.
Anyway, again, it's hard to show you in static image, but this decal is glossy from head to toe.
The image is permanently fused to the enamel and can't be worn or scratched off no matter what.
And there's always someone who says, "Show me the back". Ha ha ha!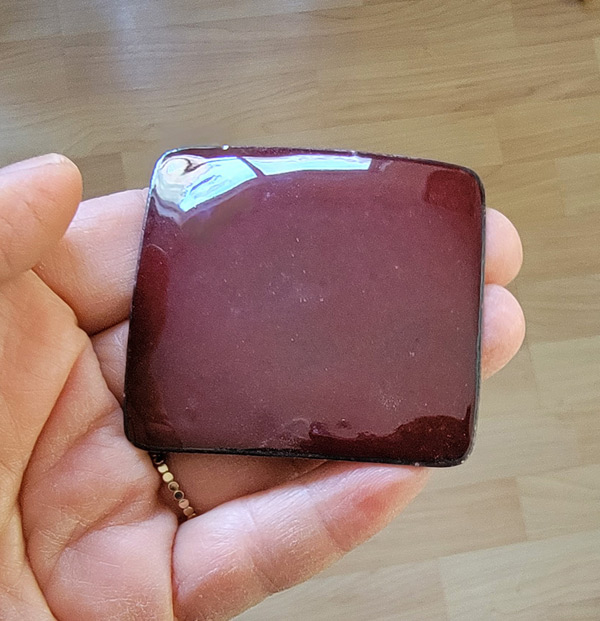
If there's enough interest, I will make a tutorial showing how to make your own enamel trinket dish with various surface applications (decals being one).
Again, I'm not going to tell you what times and temps I used in my testing because what you do will be different. As a starting point, refer to my free tutorial on enamel decals. Just take my kiln info there and go a little higher and a little lower, a little longer and a little shorter. You will find what works best for you and your studio set up.
Cheers!